
Setting up a welding table correctly is crucial for achieving precision, safety, and efficiency in welding tasks. A well-prepared welding table provides a stable and organized workspace, allowing welders to focus on producing high-quality welds. This article offers detailed instructions on how to properly set up and secure a welding table, as well as how to prepare the work area for optimal performance.
Introduction to Welding Table Setup
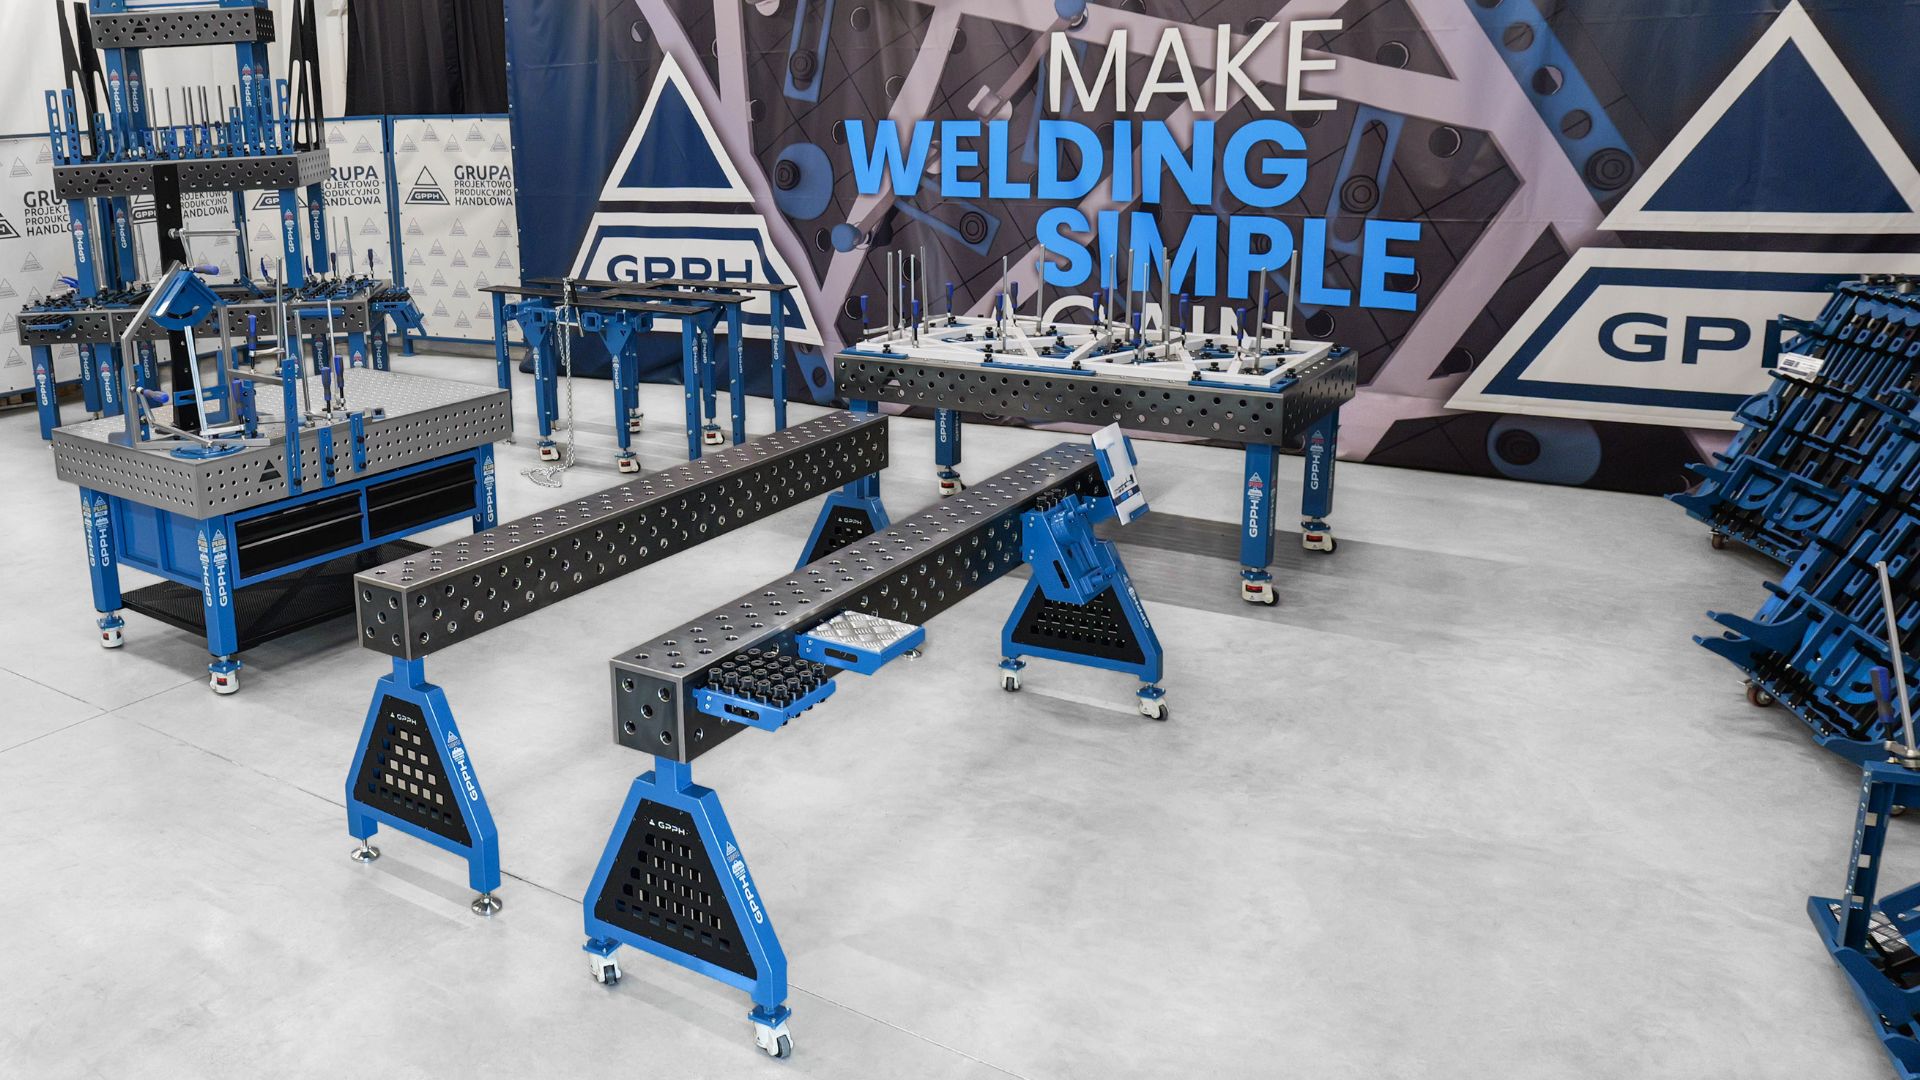
A welding table is an essential piece of equipment for any welding operation. It provides a flat, stable surface for positioning workpieces and ensures accurate alignment for precise welding. High-quality welding tables, such as those manufactured by GPPH, are designed to offer durability and versatility, making them ideal for both beginners and professionals. Explore GPPH premium welding tables here.
Preparing the Workspace
- Location: Choose a well-ventilated area for your welding table. Proper ventilation is essential to dissipate welding fumes and provide a safe working environment. Ensure there is enough space around the table for easy movement and access to tools and materials.
- Lighting: Good lighting is crucial for visibility and precision. Ensure your workspace is well-lit with bright, non-glare lighting to clearly see the weld joint and workpiece.
- Safety Equipment: Keep fire extinguishers, first aid kits, and safety equipment such as gloves, helmets, and protective clothing within easy reach. Safety should always be a top priority in any welding operation.
Setting Up the Welding Table
- Leveling the Table: Ensure that the welding table is placed on a flat, stable surface. Use a spirit level to check that the table is perfectly horizontal. Adjust the table legs or use shims to correct any unevenness. A level table ensures accurate welds and prevents workpieces from shifting during welding.
- Securing the Table: If the welding table is not permanently fixed, use clamps or bolts to secure it to the floor or a stable structure. This prevents any movement or vibrations that could affect welding precision.
- Grounding: Proper grounding is essential to prevent electrical shocks and ensure a smooth welding process. Connect the welding machine’s ground clamp to the table or directly to the workpiece to create a secure electrical path.
Organizing the Work Area
- Tool Placement: Arrange your welding tools and accessories within easy reach. Use magnetic holders or tool racks to keep your workspace organized and clutter-free. This minimizes downtime and allows you to focus on welding.
- Material Storage: Store welding materials such as filler rods, electrodes, and metal pieces in designated areas. Keeping materials organized helps in quickly locating the necessary items and maintaining a clean workspace.
- Clamps and Fixtures: Equip your welding table with various clamps and fixtures to hold workpieces securely in place. GPPH Group’s welding tables offer modular fixtures that allow for precise positioning and easy adjustment. Visit GPPH website to learn more about their innovative solutions.
Preparing the Workpiece
- Cleaning: Clean the workpieces thoroughly to remove any rust, oil, or contaminants. A clean surface ensures better weld quality and prevents defects such as porosity and inclusions.
- Fit-Up: Align the workpieces accurately on the welding table. Use clamps and fixtures to hold them in position, ensuring there are no gaps or misalignments. Proper fit-up is crucial for achieving strong, consistent welds.
- Preheating: For thicker materials or certain alloys, preheating the workpieces can help reduce the risk of cracking and improve weld penetration. Use a propane torch or other heating device to uniformly preheat the area to be welded.
Final Checks Before Welding
- Machine Settings: Adjust the welding machine settings according to the material type and thickness. Set the correct voltage, amperage, and wire feed speed to ensure optimal weld quality.
- Personal Protective Equipment (PPE): Before starting the welding process, put on all necessary PPE, including a welding helmet, gloves, and protective clothing. Safety is paramount to prevent injuries and health hazards.
- Test Welds: Perform a few test welds on scrap material to ensure the settings are correct and the welds are of good quality. This step helps in fine-tuning the parameters and avoiding potential issues during the actual welding.
Conclusion
Properly setting up a welding table is the foundation for successful welding operations. By following these detailed instructions, welders can create a safe, organized, and efficient workspace. Investing in high-quality welding tables, such as those from GPPH Group, ensures reliability and precision in every project. Explore GPPH range of premium welding tables to enhance your welding setup.
With a well-prepared welding table and a systematic approach to organizing the workspace, welders can achieve superior results and tackle even the most challenging welding tasks with confidence and accuracy.
Your style is so unique compared to other people I’ve read stuff from. I appreciate you for posting when you’ve got the opportunity, Guess I will just book mark this page.