
Welding on a welding table offers a stable and efficient workspace, allowing for precise and high-quality welds. This step-by-step guide will walk you through the entire welding process, from preparing materials to the final touches. By following these detailed instructions, you can achieve professional results in your welding projects.
Step 1: Preparing Your Workspace
Before starting any welding project, it’s crucial to set up your workspace properly.
- Choose the Right Location: Ensure your welding table is positioned in a well-ventilated area. Proper ventilation is essential to disperse fumes and ensure a safe working environment.
- Lighting: Good lighting is crucial for visibility and precision. Ensure your workspace is well-lit with bright, non-glare lighting to clearly see the weld joint and workpiece.
- Safety Equipment: Keep fire extinguishers, first aid kits, and safety equipment such as gloves, helmets, and protective clothing within easy reach. Safety should always be a top priority in any welding operation.
Step 2: Setting Up the Welding Table
- Leveling the Table: Ensure that the welding table is placed on a flat, stable surface. Use a spirit level to check that the table is perfectly horizontal. Adjust the table legs or use shims to correct any unevenness. A level table ensures accurate welds and prevents workpieces from shifting during welding.
- Securing the Table: If the welding table is not permanently fixed, use clamps or bolts to secure it to the floor or a stable structure. This prevents any movement or vibrations that could affect welding precision.
- Grounding: Proper grounding is essential to prevent electrical shocks and ensure a smooth welding process. Connect the welding machine’s ground clamp to the table or directly to the workpiece to create a secure electrical path.
Step 3: Preparing Materials and Tools
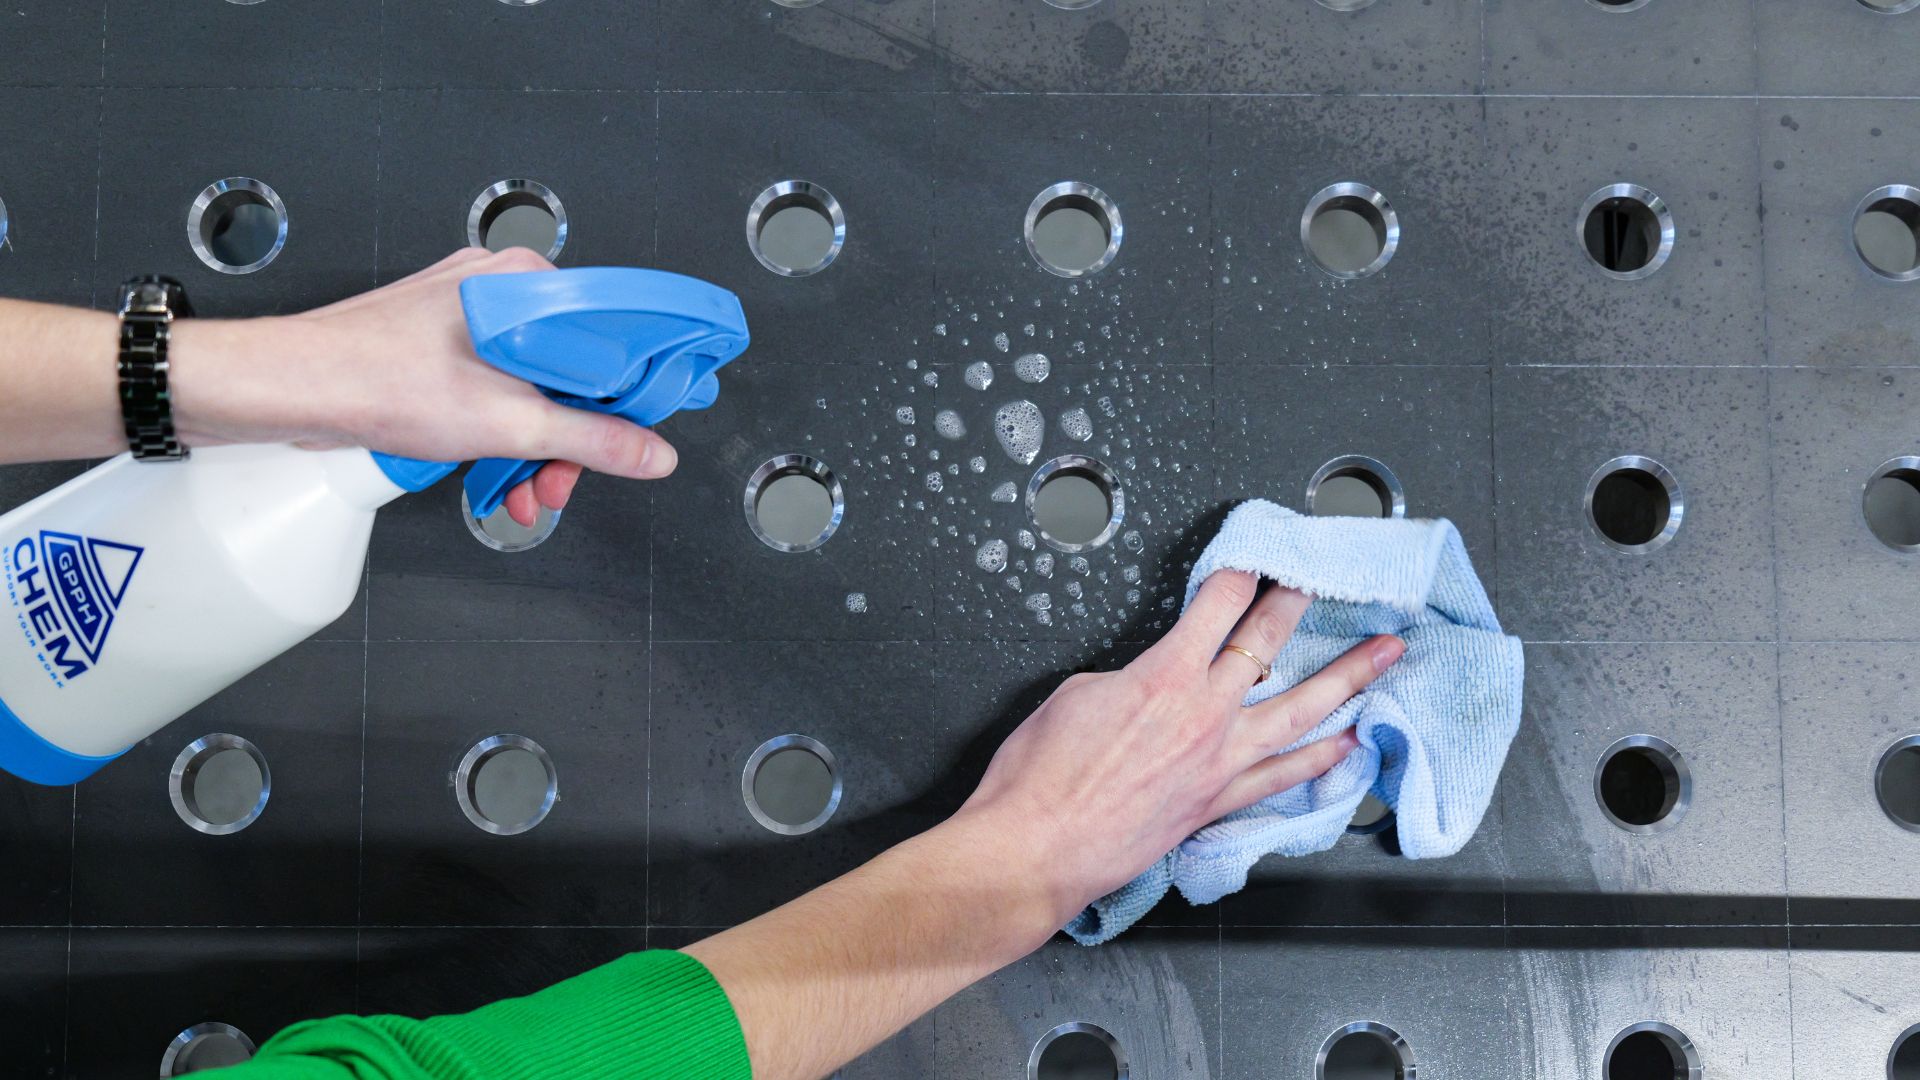
- Cleaning the Workpieces: Clean the workpieces thoroughly to remove any rust, oil, or contaminants. A clean surface ensures better weld quality and prevents defects such as porosity and inclusions.
- Tool Placement: Arrange your welding tools and accessories within easy reach. Use magnetic holders or tool racks to keep your workspace organized and clutter-free. This minimizes downtime and allows you to focus on welding.
- Material Storage: Store welding materials such as filler rods, electrodes, and metal pieces in designated areas. Keeping materials organized helps in quickly locating the necessary items and maintaining a clean workspace.
Step 4: Aligning and Securing Workpieces
- Clamping the Workpieces: Use clamps and fixtures to hold the workpieces firmly in place on the welding table. GPPH Group’s welding tables are designed with modular fixtures that allow for precise positioning and easy adjustment. Visit GPPH website to learn more about their innovative solutions.
- Ensuring Proper Fit-Up: Align the workpieces accurately, ensuring there are no gaps or misalignments. Proper fit-up is crucial for achieving strong, consistent welds.
Step 5: Setting Up the Welding Machine
- Adjusting the Settings: Set up your welding machine according to the type of welding you are performing. Adjust parameters like voltage, amperage, and wire feed speed based on the thickness and type of metal. Proper settings are crucial for achieving strong, clean welds.
- Testing: Perform a few test welds on scrap material to ensure the settings are correct and the welds are of good quality. This step helps in fine-tuning the parameters and avoiding potential issues during the actual welding.
Step 6: Performing the Weld
- Tack Welding: Begin by tack welding the pieces together. Tack welds are small welds that hold the workpieces in place and prevent them from moving during the final welding process.
- Welding the Joint: Use the appropriate welding technique (MIG, TIG, or stick welding) to complete the weld. Maintain a consistent speed and angle to ensure a uniform weld bead. Focus on controlling the weld pool and achieving good penetration.
- Managing Heat: Control the heat input to avoid warping or distortion. Use techniques such as staggered welding or backstepping to distribute heat evenly.
Step 7: Inspecting the Weld
- Visual Inspection: After welding, inspect the weld visually for any defects such as cracks, porosity, or undercut. A good weld should have a smooth, uniform appearance.
- Non-Destructive Testing: For critical welds, consider using non-destructive testing methods such as ultrasonic testing or X-rays to ensure the weld’s integrity.
Step 8: Finishing Touches
- Cleaning the Weld: Remove any slag, spatter, or discoloration using a wire brush or grinder. This step enhances the appearance of the weld and prepares it for any additional finishing processes.
- Post-Weld Treatment: Depending on the application, you may need to perform post-weld heat treatment to relieve stresses and improve the mechanical properties of the weld.
Conclusion
Welding on a welding table involves careful preparation, precise execution, and thorough inspection. By following this step-by-step guide, you can achieve professional results in your welding projects. Investing in high-quality welding tables, such as those from GPPH Group, ensures reliability and precision in every project. Explore GPPH range of premium welding tables to enhance your welding setup.
By mastering these steps, you can develop the skills and confidence needed to tackle a wide range of welding projects, from simple repairs to complex fabrications. A well-prepared welding table and a systematic approach to welding are key to achieving high-quality, durable welds.