
Welding on a welding table offers a stable and efficient workspace, allowing for precise and high-quality welds. This step-by-step guide will walk you through the entire welding process, from preparing materials to the final touches. By following these detailed instructions, you can achieve professional results in your welding projects.
Step 1: Preparing Your Workspace
Before starting any welding project, it’s crucial to set up your workspace properly.
- Choose the Right Location: Ensure your welding table is positioned in a well-ventilated area. Proper ventilation is essential to disperse fumes and ensure a safe working environment.
- Beleuchtung: Eine gute Beleuchtung ist für die Sichtbarkeit und Präzision entscheidend. Sorgen Sie für einen gut ausgeleuchteten Arbeitsplatz mit heller, blendfreier Beleuchtung, damit Sie die Schweißnaht und das Werkstück gut sehen können.
- Sicherheitsausrüstung: Halten Sie Feuerlöscher, Erste-Hilfe-Kästen und Sicherheitsausrüstung wie Handschuhe, Helme und Schutzkleidung in Reichweite. Die Sicherheit sollte bei allen Schweißarbeiten immer an erster Stelle stehen.
Step 2: Setting Up the Welding Table
- Nivellierung des Tisches: Vergewissern Sie sich, dass der Schweißtisch auf einer ebenen, stabilen Fläche steht. Prüfen Sie mit einer Wasserwaage, ob der Tisch perfekt horizontal steht. Stellen Sie die Tischbeine ein oder verwenden Sie Unterlegscheiben, um eventuelle Unebenheiten auszugleichen. Ein waagerechter Tisch gewährleistet genaue Schweißnähte und verhindert, dass sich die Werkstücke während des Schweißens verschieben.
- Sichern des Tisches: Wenn der Schweißtisch nicht fest installiert ist, befestigen Sie ihn mit Klammern oder Schrauben am Boden oder an einer stabilen Struktur. Dies verhindert Bewegungen und Vibrationen, die die Schweißgenauigkeit beeinträchtigen könnten.
- Erdung: Eine ordnungsgemäße Erdung ist wichtig, um Stromschläge zu vermeiden und einen reibungslosen Schweißvorgang zu gewährleisten. Verbinden Sie die Erdungsklemme des Schweißgeräts mit dem Tisch oder direkt mit dem Werkstück, um einen sicheren elektrischen Pfad zu schaffen.
Step 3: Preparing Materials and Tools
- Cleaning the Workpieces: Reinigen Sie die Werkstücke gründlich, um Rost, Öl oder Verunreinigungen zu entfernen. Eine saubere Oberfläche gewährleistet eine bessere Schweißqualität und verhindert Defekte wie Porosität und Einschlüsse.
- Platzierung der Werkzeuge: Ordnen Sie Ihre Schweißwerkzeuge und Ihr Zubehör in Reichweite an. Verwenden Sie magnetische Halterungen oder Werkzeugregale, um Ihren Arbeitsbereich zu organisieren und aufzuräumen. Dies minimiert die Ausfallzeiten und ermöglicht es Ihnen, sich auf das Schweißen zu konzentrieren.
- Lagerung von Material: Lagern Sie Schweißmaterialien wie Schweißdraht, Elektroden und Metallteile in den dafür vorgesehenen Bereichen. Eine geordnete Materialaufbewahrung hilft, die benötigten Gegenstände schnell zu finden und einen sauberen Arbeitsbereich zu erhalten.
Step 4: Aligning and Securing Workpieces
- Clamping the Workpieces: Use clamps and fixtures to hold the workpieces firmly in place on the welding table. GPPH Group’s welding tables are designed with modular fixtures that allow for precise positioning and easy adjustment. Besuchen Sie die GPPH-Website um mehr über ihre innovativen Lösungen zu erfahren.
- Ensuring Proper Fit-Up: Align the workpieces accurately, ensuring there are no gaps or misalignments. Proper fit-up is crucial for achieving strong, consistent welds.
Step 5: Setting Up the Welding Machine
- Adjusting the Settings: Set up your welding machine according to the type of welding you are performing. Adjust parameters like voltage, amperage, and wire feed speed based on the thickness and type of metal. Proper settings are crucial for achieving strong, clean welds.
- Testing: Führen Sie einige Testschweißungen an Ausschussmaterial durch, um sicherzustellen, dass die Einstellungen korrekt sind und die Schweißnähte von guter Qualität sind. Dieser Schritt hilft bei der Feinabstimmung der Parameter und vermeidet potenzielle Probleme während des eigentlichen Schweißens.
Step 6: Performing the Weld
- Tack Welding: Begin by tack welding the pieces together. Tack welds are small welds that hold the workpieces in place and prevent them from moving during the final welding process.
- Welding the Joint: Use the appropriate welding technique (MIG, TIG, or stick welding) to complete the weld. Maintain a consistent speed and angle to ensure a uniform weld bead. Focus on controlling the weld pool and achieving good penetration.
- Managing Heat: Control the heat input to avoid warping or distortion. Use techniques such as staggered welding or backstepping to distribute heat evenly.
Step 7: Inspecting the Weld
- Visual Inspection: After welding, inspect the weld visually for any defects such as cracks, porosity, or undercut. A good weld should have a smooth, uniform appearance.
- Non-Destructive Testing: For critical welds, consider using non-destructive testing methods such as ultrasonic testing or X-rays to ensure the weld’s integrity.
Step 8: Finishing Touches
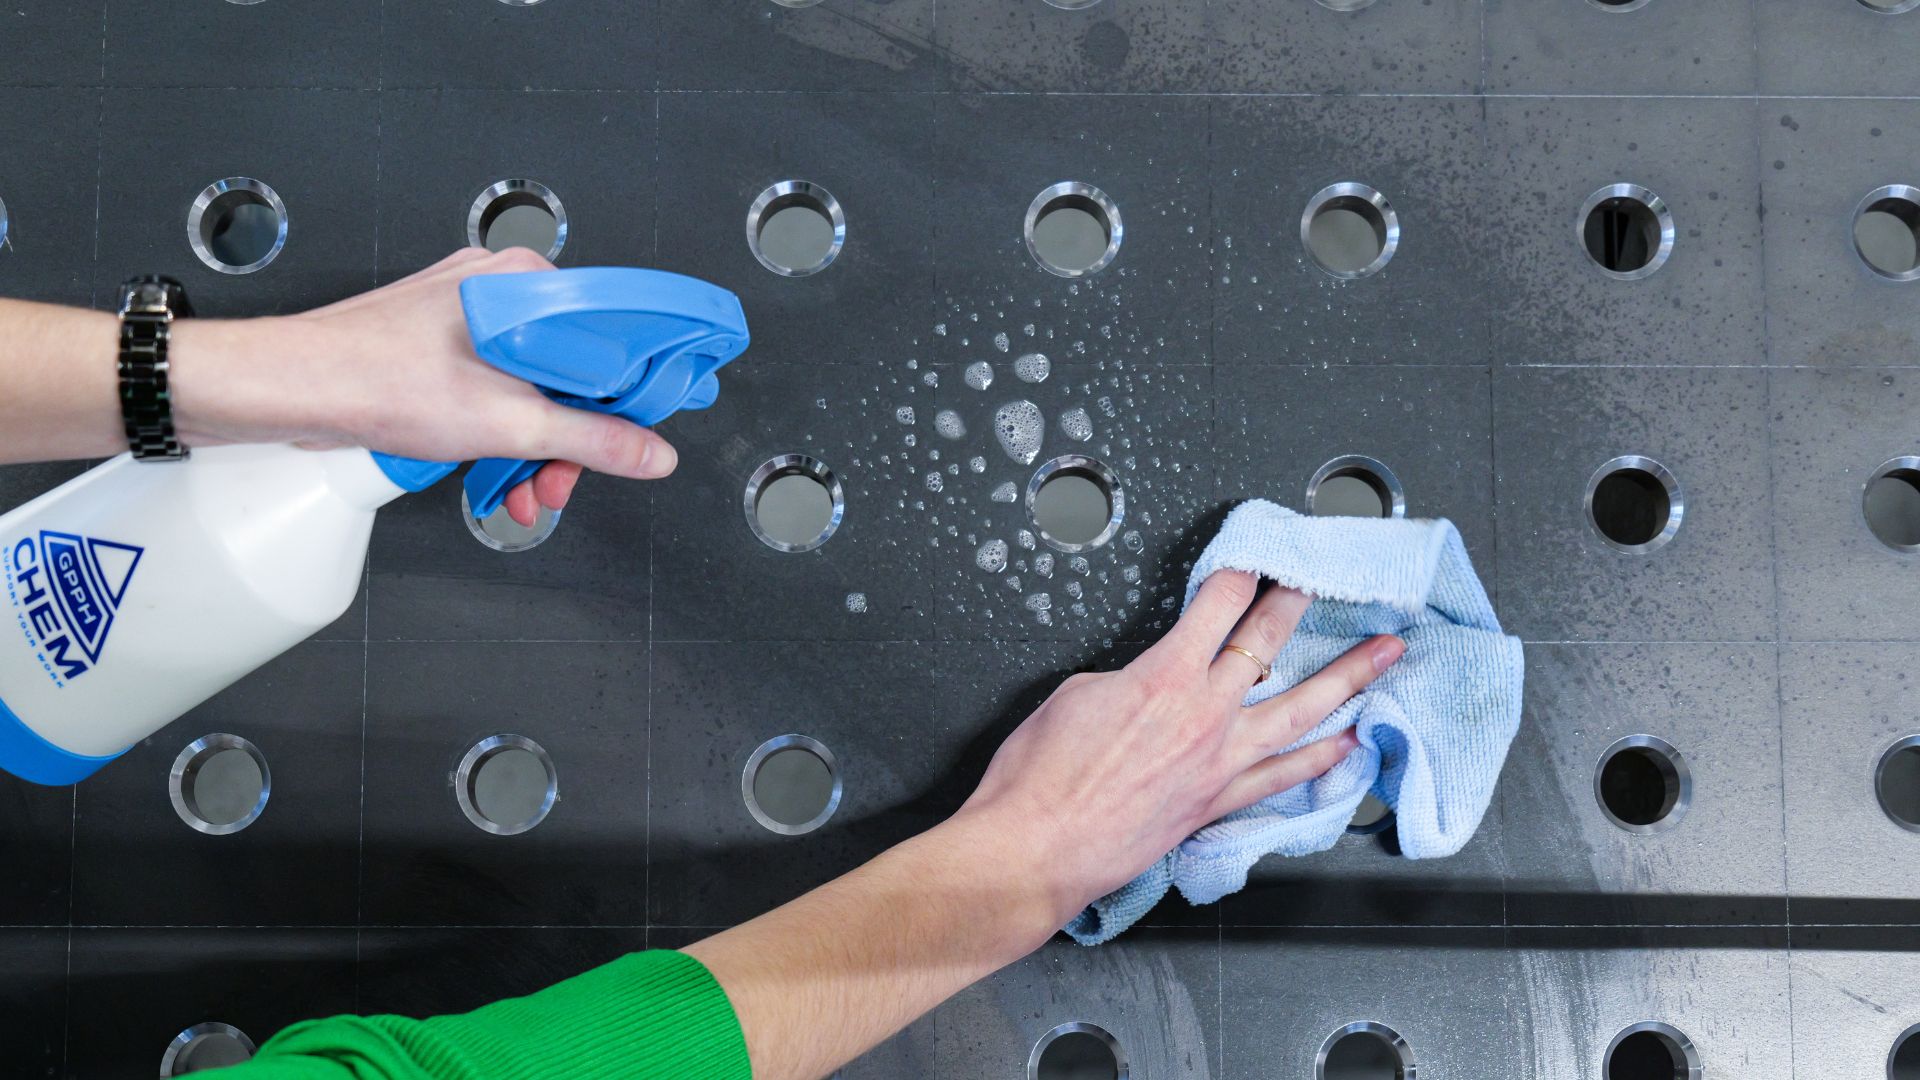
- Cleaning the Weld: Remove any slag, spatter, or discoloration using a wire brush or grinder. This step enhances the appearance of the weld and prepares it for any additional finishing processes.
- Behandlung nach dem Schweißen: Depending on the application, you may need to perform post-weld heat treatment to relieve stresses and improve the mechanical properties of the weld.
Schlussfolgerung
Welding on a welding table involves careful preparation, precise execution, and thorough inspection. By following this step-by-step guide, you can achieve professional results in your welding projects. Investing in high-quality welding tables, such as those from GPPH Group, ensures reliability and precision in every project. Entdecken Sie das GPPH-Sortiment an hochwertigen Schweißtischen zur Verbesserung Ihrer Schweißausrüstung.
By mastering these steps, you can develop the skills and confidence needed to tackle a wide range of welding projects, from simple repairs to complex fabrications. A well-prepared welding table and a systematic approach to welding are key to achieving high-quality, durable welds.