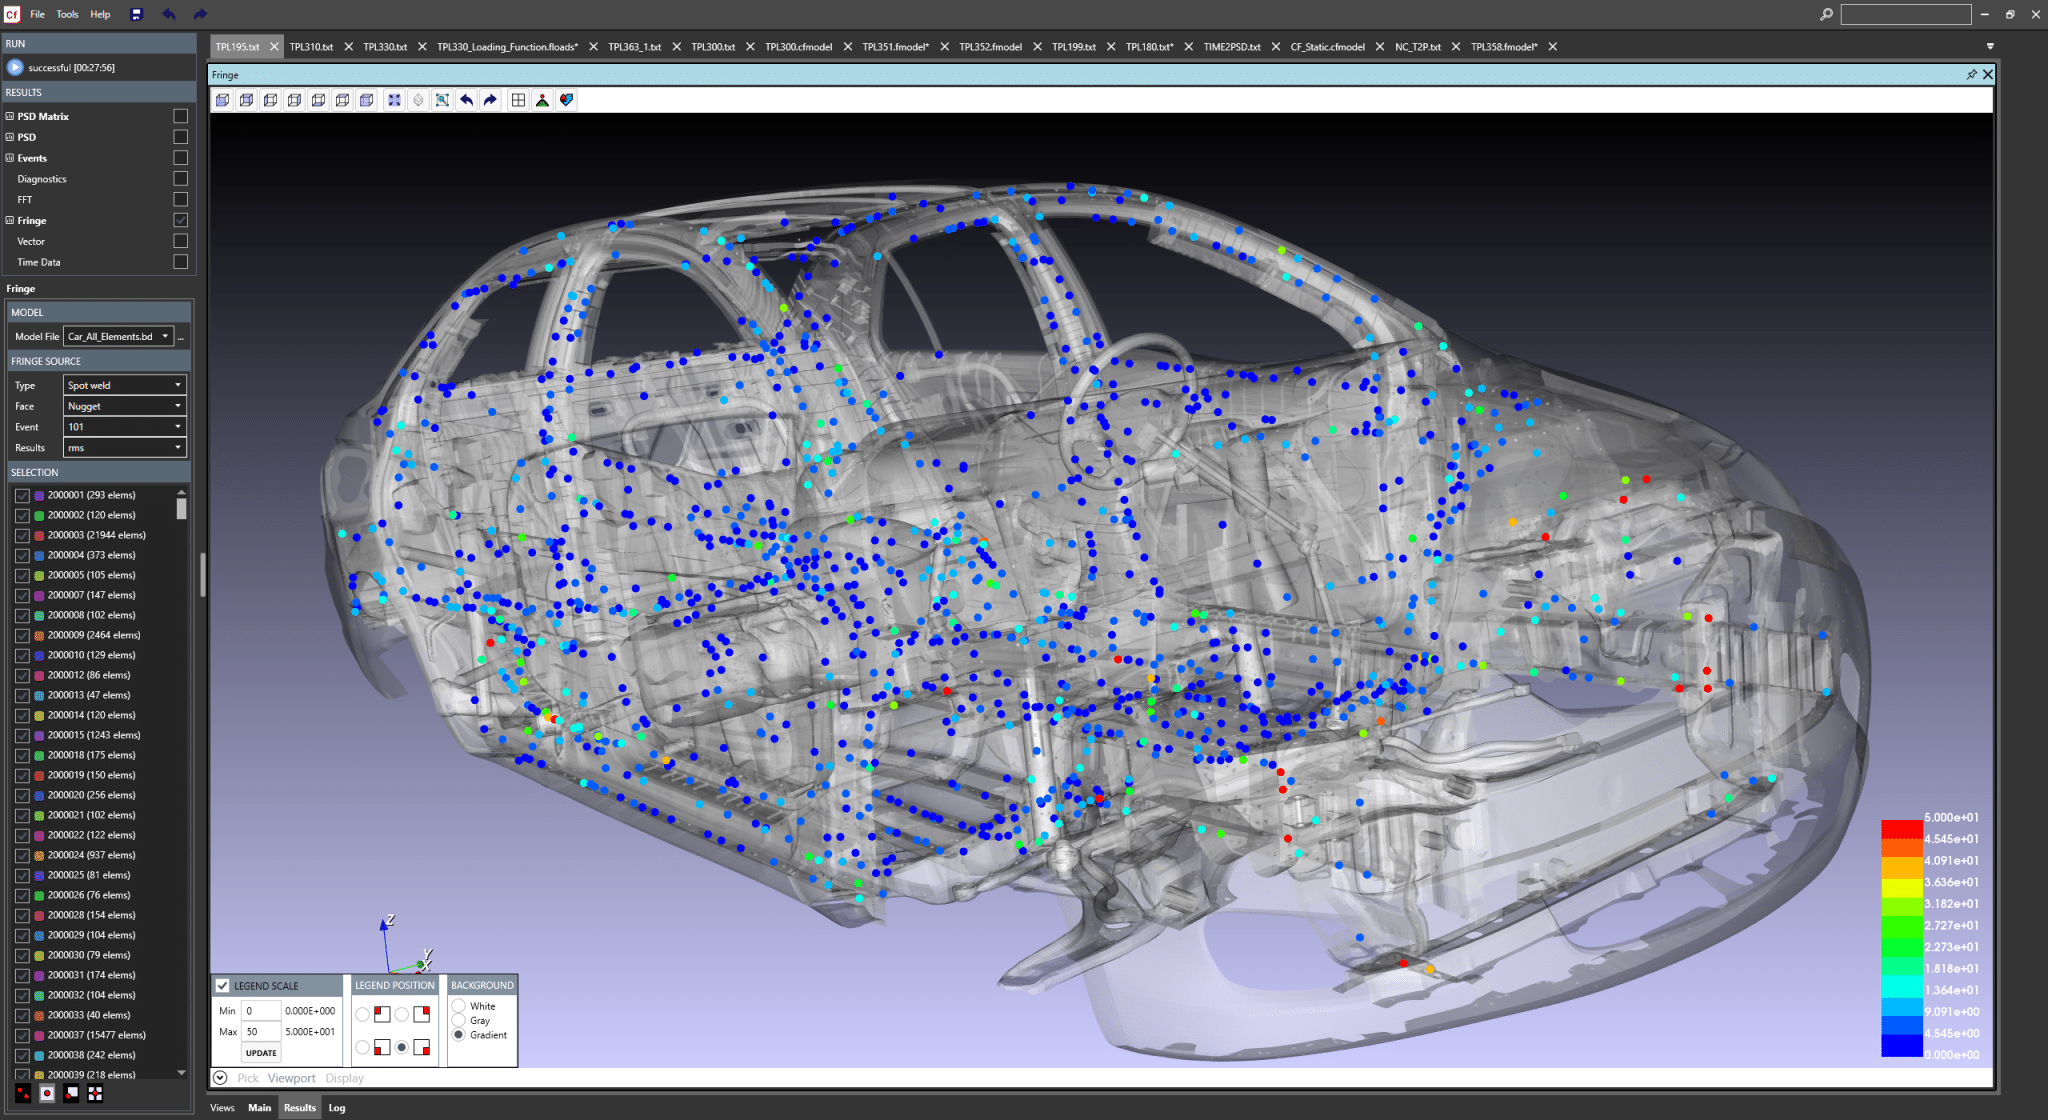
Welding is a critical process in many industries, from automotive and aerospace to construction and shipbuilding. Ensuring the quality and integrity of welds is paramount to the safety and performance of welded structures. Structural analysis of welds involves examining the metal’s properties and characteristics after welding to identify any defects or weaknesses. This article explores various techniques used for analyzing the structure of metal post-welding, providing insights into their applications and benefits.
1. Visual Inspection
Visual inspection is the most basic and commonly used method for evaluating welds. It involves examining the weld surface with the naked eye or using magnification tools to detect visible defects such as cracks, porosity, or incomplete fusion.
Techniques:
- Direct Visual Inspection: Performed without any aids, suitable for detecting gross surface defects.
- Magnified Visual Inspection: Uses magnifying glasses or microscopes to identify smaller surface imperfections.
Benefits:
- Non-Destructive: Does not damage the weld.
- Quick and Cost-Effective: Provides immediate results without the need for specialized equipment.
Limitations:
- Surface-Only: Limited to surface defects and cannot detect internal flaws.
2. Dye Penetrant Inspection (DPI)
Dye Penetrant Inspection is a widely used non-destructive testing (NDT) method for detecting surface-breaking defects in non-porous materials. It involves applying a liquid dye to the weld surface, which seeps into any cracks or voids.
Process:
- Cleaning: The weld surface is thoroughly cleaned to remove contaminants.
- Application of Penetrant: A liquid dye is applied and allowed to penetrate surface defects.
- Excess Penetrant Removal: The surface is cleaned to remove excess dye.
- Application of Developer: A developer is applied, drawing the dye out of defects and making them visible.
Benefits:
- High Sensitivity: Effective for detecting very small surface cracks.
- Versatile: Can be used on a variety of materials.
Limitations:
- Surface-Only: Only detects surface defects.
- Time-Consuming: Requires multiple steps and thorough cleaning.
3. Magnetic Particle Inspection (MPI)
Magnetic Particle Inspection is another NDT method used to detect surface and near-surface defects in ferromagnetic materials. It involves magnetizing the weld and applying ferrous particles that gather at discontinuities, revealing defects.
Process:
- Magnetization: The weld is magnetized using a magnetic field.
- Application of Particles: Ferrous particles are applied to the surface.
- Inspection: Particles accumulate at defects, making them visible under white or UV light.
Benefits:
- Detects Surface and Near-Surface Defects: Effective for identifying both surface and slightly subsurface flaws.
- Quick and Reliable: Provides immediate visual indication of defects.
Limitations:
- Limited to Ferromagnetic Materials: Cannot be used on non-ferrous metals.
- Surface Preparation Required: Requires clean and smooth surfaces.
4. Ultrasonic Testing (UT)
Ultrasonic Testing is a highly effective NDT method for detecting internal and surface defects in welds. It uses high-frequency sound waves that propagate through the material and reflect back from defects.
Process:
- Probe Application: A probe emits ultrasonic waves into the weld.
- Signal Interpretation: Reflected waves are captured and analyzed to identify discontinuities.
Benefits:
- Depth Penetration: Capable of detecting internal defects at significant depths.
- Accurate and Reliable: Provides precise information about defect size and location.
Limitations:
- Requires Skilled Operators: Proper interpretation of signals requires expertise.
- Surface Condition: Requires smooth surfaces for accurate results.
5. Radiographic Testing (RT)
Radiographic Testing uses X-rays or gamma rays to create an image of the internal structure of the weld, revealing defects such as cracks, voids, and inclusions.
Process:
- Exposure: The weld is exposed to X-rays or gamma rays.
- Image Capture: Radiation passes through the weld and is captured on film or digital detectors.
- Analysis: The resulting image is analyzed for defects.
Benefits:
- Internal Inspection: Capable of detecting internal flaws.
- Permanent Record: Produces a permanent image for documentation and review.
Limitations:
- Safety Concerns: Requires strict safety protocols to handle radiation.
- Cost: Relatively expensive compared to other NDT methods.
6. Metallographic Examination
Metallographic Examination involves the microscopic analysis of the weld’s cross-section to study its microstructure. It provides detailed information about the weld’s grain structure, phase distribution, and the presence of defects.
Process:
- Sample Preparation: The weld is cut, polished, and etched to reveal its microstructure.
- Microscopic Analysis: The prepared sample is examined under a microscope.
Benefits:
- Detailed Analysis: Provides comprehensive information about the weld’s microstructure.
- Detects Microstructural Defects: Identifies issues such as grain size, phase distribution, and micro-cracks.
Limitations:
- Destructive: Involves cutting the weld, making it unsuitable for in-service inspection.
- Time-Consuming: Requires meticulous sample preparation.
7. Hardness Testing
Hardness Testing measures the resistance of the weld to indentation, providing an indication of its mechanical properties. It is often used to assess the effects of welding on the material’s hardness.
Techniques:
- Vickers Hardness Test: Uses a diamond indenter to measure hardness at a microscopic scale.
- Rockwell Hardness Test: Measures the depth of penetration of an indenter under a large load.
Benefits:
- Non-Destructive: Generally does not cause significant damage to the weld.
- Mechanical Property Assessment: Provides information about the weld’s strength and hardness.
Limitations:
- Surface Preparation: Requires a smooth, clean surface for accurate results.
- Localized Measurement: Provides hardness values at specific points, not a comprehensive overview.
Conclusion
The structural analysis of welds is crucial for ensuring the quality and reliability of welded structures. Various techniques, including visual inspection, dye penetrant inspection, magnetic particle inspection, ultrasonic testing, radiographic testing, metallographic examination, and hardness testing, offer different benefits and are suited to specific applications. By employing a combination of these methods, industries can achieve a comprehensive assessment of weld quality, ensuring the safety and performance of their products and infrastructure. As technology advances, these techniques will continue to evolve, providing even more accurate and efficient ways to analyze the structure of metals post-welding.

