
Welding on a welding table offers a stable and efficient workspace, allowing for precise and high-quality welds. This step-by-step guide will walk you through the entire welding process, from preparing materials to the final touches. By following these detailed instructions, you can achieve professional results in your welding projects.
Step 1: Preparing Your Workspace
Before starting any welding project, it’s crucial to set up your workspace properly.
- Choose the Right Location: Ensure your welding table is positioned in a well-ventilated area. Proper ventilation is essential to disperse fumes and ensure a safe working environment.
- Oświetlenie: Dobre oświetlenie ma kluczowe znaczenie dla widoczności i precyzji. Upewnij się, że miejsce pracy jest dobrze oświetlone jasnym, nieoślepiającym światłem, aby wyraźnie widzieć spoinę i obrabiany przedmiot.
- Wyposażenie bezpieczeństwa: Gaśnice, apteczki pierwszej pomocy i sprzęt ochronny, taki jak rękawice, kaski i odzież ochronna, powinny znajdować się w zasięgu ręki. Bezpieczeństwo powinno być zawsze najwyższym priorytetem podczas każdej operacji spawania.
Step 2: Setting Up the Welding Table
- Poziomowanie stołu: Upewnić się, że stół spawalniczy jest umieszczony na płaskiej, stabilnej powierzchni. Użyj poziomicy, aby sprawdzić, czy stół jest idealnie poziomy. Wyreguluj nogi stołu lub użyj podkładek, aby skorygować wszelkie nierówności. Wypoziomowany stół zapewnia dokładne spoiny i zapobiega przesuwaniu się elementów podczas spawania.
- Zabezpieczanie stołu: Jeśli stół spawalniczy nie jest zamocowany na stałe, należy użyć zacisków lub śrub, aby przymocować go do podłogi lub stabilnej konstrukcji. Zapobiegnie to jakimkolwiek ruchom lub wibracjom, które mogłyby wpłynąć na precyzję spawania.
- Uziemienie: Prawidłowe uziemienie jest niezbędne, aby zapobiec porażeniu prądem i zapewnić płynny proces spawania. Podłącz zacisk uziemienia spawarki do stołu lub bezpośrednio do przedmiotu obrabianego, aby utworzyć bezpieczną ścieżkę elektryczną.
Step 3: Preparing Materials and Tools
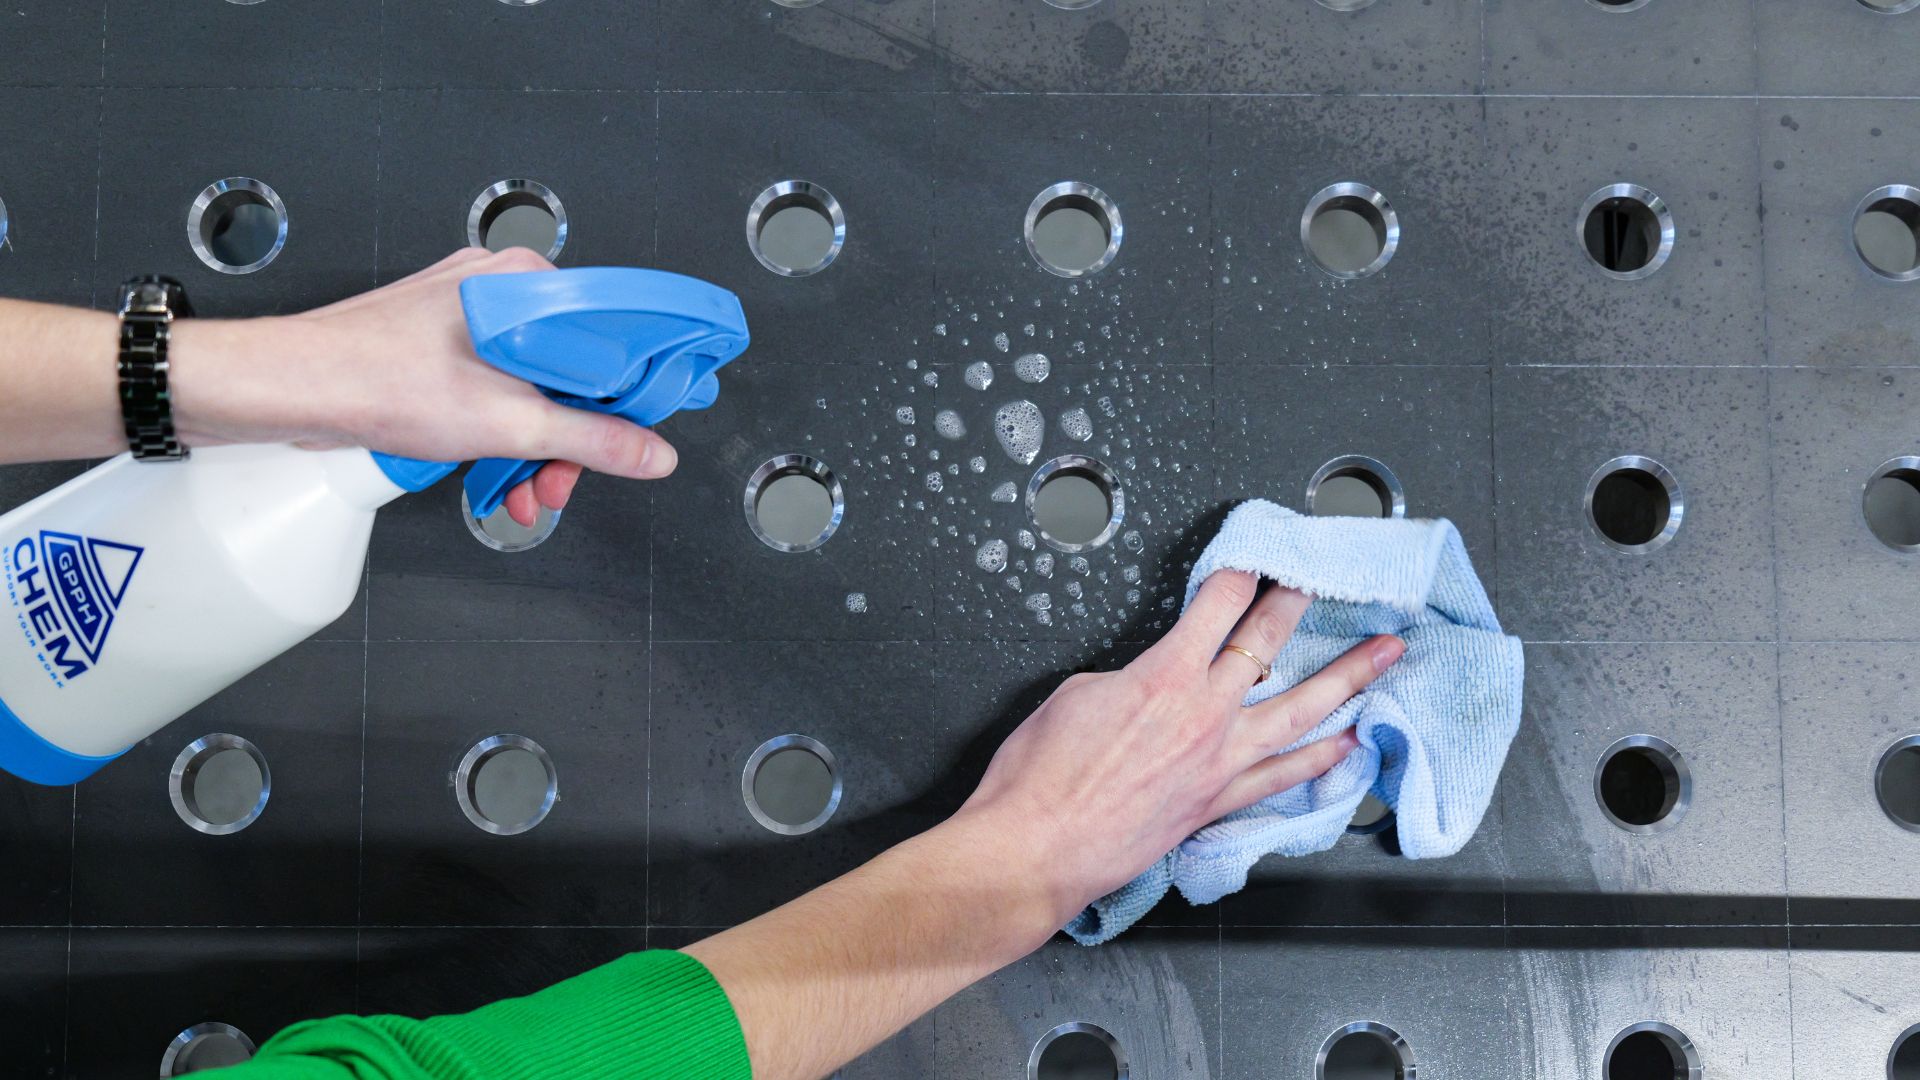
- Cleaning the Workpieces: Dokładnie oczyść elementy obrabiane, aby usunąć rdzę, olej lub zanieczyszczenia. Czysta powierzchnia zapewnia lepszą jakość spoiny i zapobiega wadom, takim jak porowatość i wtrącenia.
- Rozmieszczenie narzędzi: Ułóż narzędzia i akcesoria spawalnicze w łatwo dostępnym miejscu. Użyj uchwytów magnetycznych lub stojaków na narzędzia, aby utrzymać porządek w miejscu pracy. Minimalizuje to przestoje i pozwala skupić się na spawaniu.
- Przechowywanie materiałów: Materiały spawalnicze, takie jak pręty spawalnicze, elektrody i elementy metalowe, należy przechowywać w wyznaczonych miejscach. Uporządkowanie materiałów pomaga w szybkim zlokalizowaniu niezbędnych elementów i utrzymaniu czystego miejsca pracy.
Step 4: Aligning and Securing Workpieces
- Clamping the Workpieces: Use clamps and fixtures to hold the workpieces firmly in place on the welding table. GPPH Group’s welding tables are designed with modular fixtures that allow for precise positioning and easy adjustment. Odwiedź stronę GPPH aby dowiedzieć się więcej o ich innowacyjnych rozwiązaniach.
- Ensuring Proper Fit-Up: Align the workpieces accurately, ensuring there are no gaps or misalignments. Proper fit-up is crucial for achieving strong, consistent welds.
Step 5: Setting Up the Welding Machine
- Adjusting the Settings: Skonfiguruj spawarkę zgodnie z rodzajem wykonywanego spawania. Dostosuj parametry, takie jak napięcie, natężenie prądu i prędkość podawania drutu w zależności od grubości i rodzaju metalu. Prawidłowe ustawienia mają kluczowe znaczenie dla uzyskania mocnych, czystych spoin.
- Testing: Wykonaj kilka spoin testowych na złomowanym materiale, aby upewnić się, że ustawienia są prawidłowe, a spoiny są dobrej jakości. Ten krok pomaga w dostrojeniu parametrów i uniknięciu potencjalnych problemów podczas rzeczywistego spawania.
Step 6: Performing the Weld
- Napawanie: Rozpocznij od sczepienia elementów. Spoiny sczepne to małe spoiny, które utrzymują elementy na miejscu i zapobiegają ich przemieszczaniu się podczas końcowego procesu spawania.
- Welding the Joint: Use the appropriate welding technique (MIG, TIG, or stick welding) to complete the weld. Maintain a consistent speed and angle to ensure a uniform weld bead. Focus on controlling the weld pool and achieving good penetration.
- Managing Heat: Control the heat input to avoid warping or distortion. Use techniques such as staggered welding or backstepping to distribute heat evenly.
Step 7: Inspecting the Weld
- Visual Inspection: After welding, inspect the weld visually for any defects such as cracks, porosity, or undercut. A good weld should have a smooth, uniform appearance.
- Non-Destructive Testing: For critical welds, consider using non-destructive testing methods such as ultrasonic testing or X-rays to ensure the weld’s integrity.
Step 8: Finishing Touches
- Cleaning the Weld: Remove any slag, spatter, or discoloration using a wire brush or grinder. This step enhances the appearance of the weld and prepares it for any additional finishing processes.
- Obróbka po spawaniu: Depending on the application, you may need to perform post-weld heat treatment to relieve stresses and improve the mechanical properties of the weld.
Wnioski
Welding on a welding table involves careful preparation, precise execution, and thorough inspection. By following this step-by-step guide, you can achieve professional results in your welding projects. Investing in high-quality welding tables, such as those from GPPH Group, ensures reliability and precision in every project. Poznaj gamę najwyższej jakości stołów spawalniczych GPPH aby ulepszyć konfigurację spawania.
By mastering these steps, you can develop the skills and confidence needed to tackle a wide range of welding projects, from simple repairs to complex fabrications. A well-prepared welding table and a systematic approach to welding are key to achieving high-quality, durable welds.